How to Test a Webhook Locally

There are two useful ways to test a webhook, depending on what you need to check.
If you want to see exactly what a third-party service sends, create a temporary URL with the DevToolbox Webhook Tester. Add that generated URL to the webhook settings of the service you are testing, trigger an event, and inspect the incoming headers, query parameters, and request body.
If you already have your own webhook endpoint and want to send a sample request to it, use the HTTP Request Builder. You can choose the POST method, add request headers, paste a JSON payload, and review the HTTP response from your server.
Before sending a JSON payload, validate and format it with the JSON Formatter and Validator. This helps you catch invalid JSON syntax before it reaches your endpoint.
What Is a Webhook?
A webhook is an automated HTTP request sent from one application to another after a specific event occurs.
Unlike a regular API request, where your application asks for data, a webhook pushes data to your endpoint automatically.
For example, when a customer completes a payment, a payment provider may send a POST request to your webhook URL with details such as the payment ID, amount, currency, and payment status.
A typical webhook payload may look like this:
{
  "event": "payment.completed",
  "payment_id": "pay_123456",
  "amount": 1999,
  "currency": "INR",
  "status": "success"
}
Why You Should Test Webhooks Before Going Live
A small issue in webhook handling can create major problems. Your application may miss an order update, fail to activate a subscription, or store incomplete information.
Testing helps you confirm that:
Your webhook URL is publicly reachable.
Your server accepts the correct request method, usually
POST.Headers are received correctly.
JSON payloads are valid and readable.
Authentication or signature validation works.
Your endpoint returns the expected HTTP status code.
Your application handles failed or duplicate events safely.
Common Webhook Use Cases
Webhooks are commonly used for:
Payment confirmation from payment gateways
WooCommerce order updates
Contact form submissions
GitHub push and deployment events
CRM lead notifications
Subscription renewal and cancellation events
WhatsApp, Slack, or messaging platform notifications
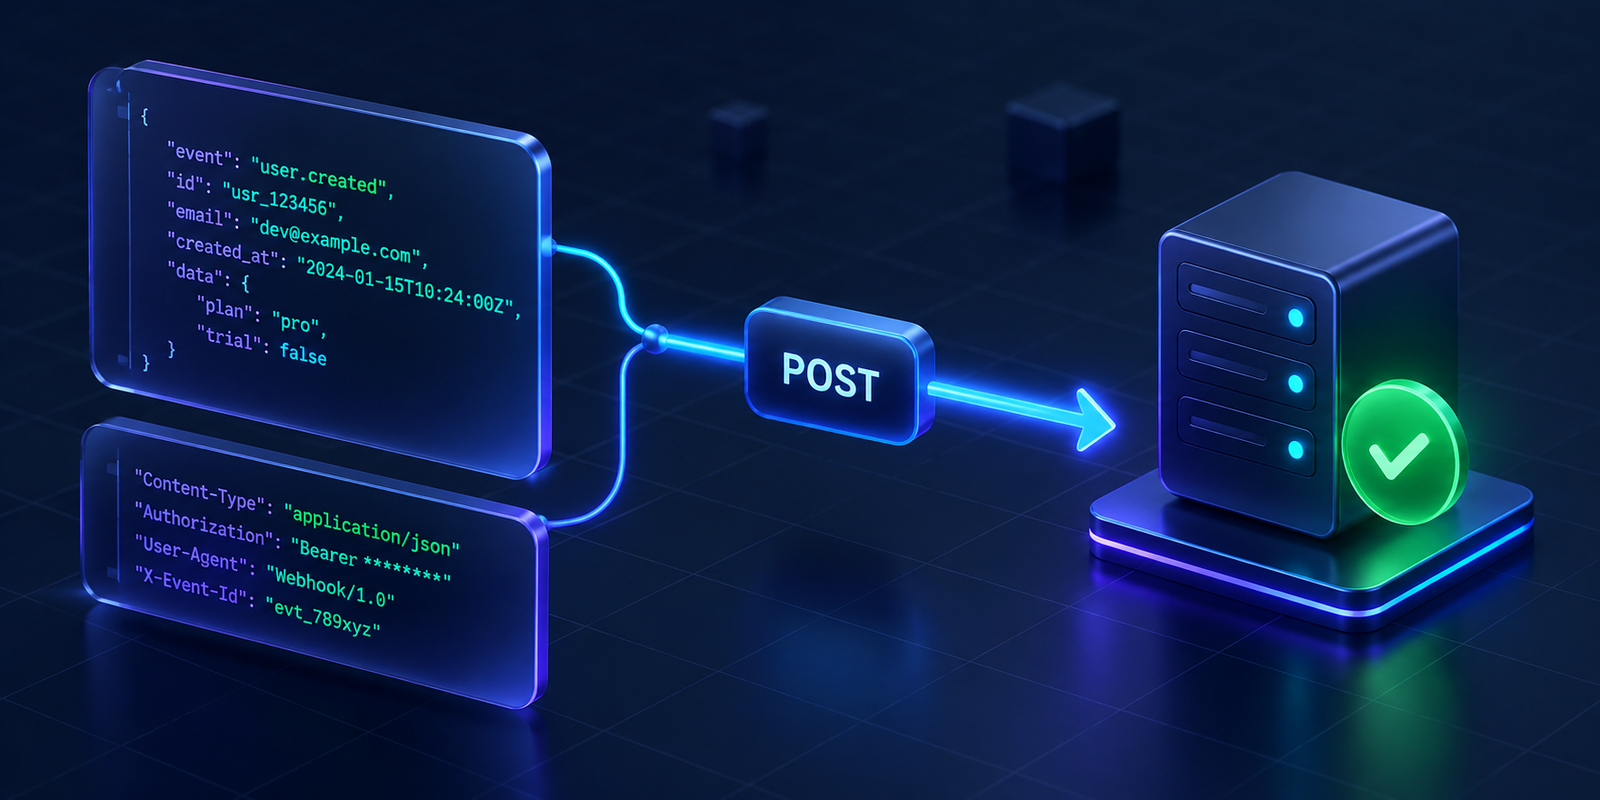
How to Test a Webhook
1. Create a Webhook Endpoint
First, create an endpoint in your application that can receive incoming requests.
For example, in Laravel, you may create a route like this:
Route::post('/webhooks/payment', [PaymentWebhookController::class, 'handle']);Your endpoint should read the request body, validate the payload, perform the required action, and return a successful response.
A basic response could be:
return response()->json([
    'success' => true
], 200);
2. Send a Sample Payload
You do not need to wait for a real payment, order, or GitHub event to test your endpoint.
Use the HTTP Request Builder to send a POST request to your webhook URL.
Set the request method to POST, add the required headers, and paste a valid JSON request body.
Example headers:
Content-Type: application/json
Authorization: Bearer your-test-token
Example body:
{
  "event": "order.created",
  "order_id": 1024,
  "customer_email": "test@example.com",
  "total": 1499,
  "currency": "INR"
}
3. Check the Response
After sending the test request, check the response status.
A successful webhook endpoint should usually return:
200 OKSome platforms also accept:
201 Created
202 Accepted
204 No Content
If you receive a 400, 401, 403, 404, or 500 response, inspect your server logs and request details to find the issue.
Common Webhook Errors and How to Fix Them
400 Bad Request
This usually means your application could not understand the request.
Check that:
The JSON is valid.
Required fields are included.
The
Content-Typeheader is set toapplication/json.
Use a JSON Formatter and Validator before sending the request to confirm that the payload is valid.
401 Unauthorized or 403 Forbidden
These errors usually indicate an authentication or permission problem.
Check that:
Your API key, token, or signature is correct.
Required authorization headers are included.
Your server is not blocking the incoming request.
404 Not Found
A 404 error means the webhook URL does not exist.
Verify the route path, domain, and environment. Also ensure that the route is available on the live server, not only on your local machine.
500 Internal Server Error
A 500 response means your application encountered an error while processing the webhook.
Check your application logs for the exact error. Common causes include missing database records, invalid assumptions about the payload structure, and unhandled exceptions.

Important Webhook Security Practices
Webhook endpoints should not blindly trust every incoming request.
Use these basic security practices:
Validate webhook signatures when the provider supports them.
Use a secret key stored in environment variables.
Verify required headers and expected event types.
Return a fast response to prevent unnecessary retries.
Handle duplicate events safely.
Never log sensitive production data such as passwords, private keys, or full payment details.
Test Webhooks Faster With DevToolbox
The DevToolbox Webhook Tester lets you generate a temporary URL and inspect webhook requests from services such as payment gateways, GitHub, or messaging platforms.
To test your own webhook endpoint directly, use the HTTP Request Builder. Validate the request body first with the JSON Formatter and Validator.
Once you have a working cURL request, use the cURL to Fetch, Axios, Python and PHP Converter to turn it into code for your application.